Doc Summary

#
This guide walks you through the process of navigating the Dataphone dashboard and setting up a new Call Webhook to receive real-time call events.
Step 1: Log in to your Portal #
- Open your web browser and navigate to your Dataphone account portal.
- Sign in using your credentials to access the main dashboard.
Step 2: Navigate to Management #
- Click on the gear at the right upper corner
- Find and expand the PBX Management section (located under Account Management).
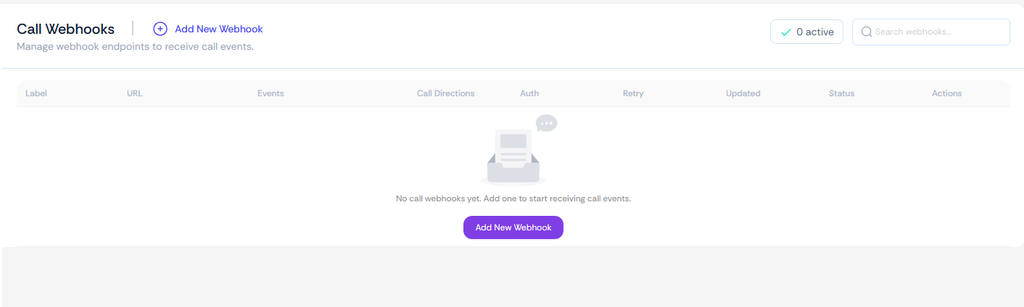
- Click on Call Webhooks from the sub-menu list.
Step 3: Add a New Webhook #
- Once on the Call Webhooks management page, you will see an overview of any existing webhooks.
- Click on the Add New Webhook button (located either at the top of the main panel or as the prominent purple button in the center).
Step 4: Configure Your Webhook Settings #
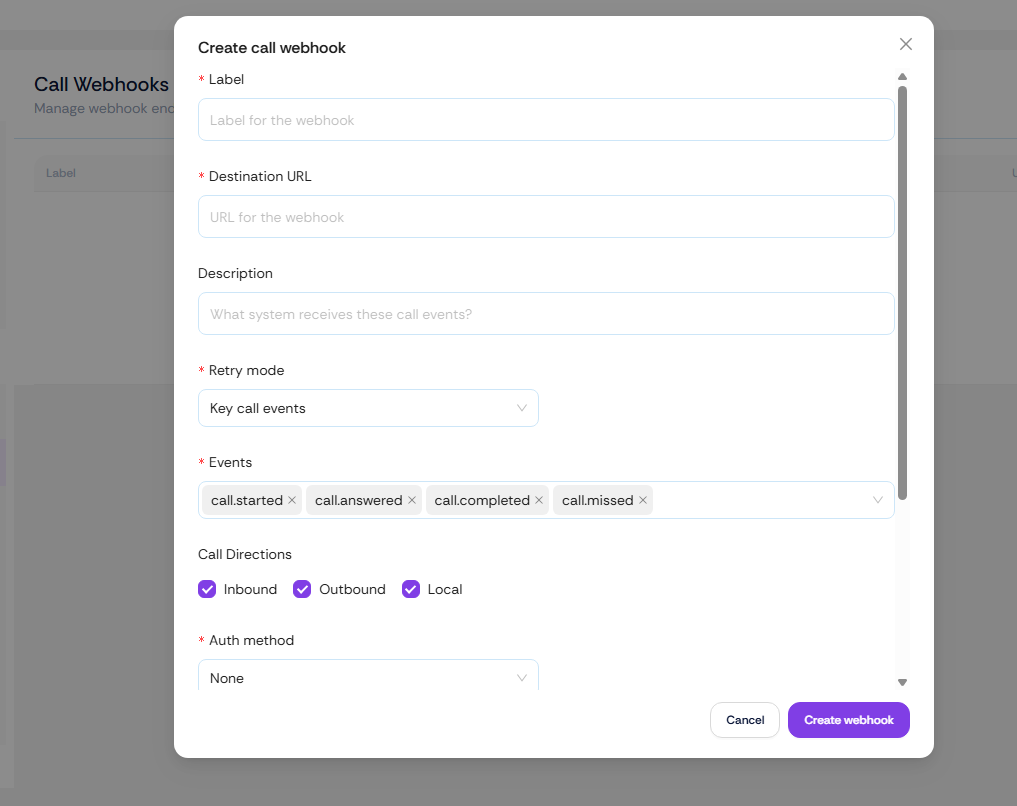
Fill out the required fields to establish your endpoint connection:
- Label: Enter a recognizable name or description for your webhook.
- URL: Provide the destination endpoint URL where call event payloads should be sent.
- Retry mode: Please select All Events
- Events: Select the specific call events you wish to monitor and subscribe to.
- Call Directions / Auth / Retry: Configure any necessary authentication tokens, retry behaviors, or filter by call direction if applicable.
Step 5: Save and Enable #
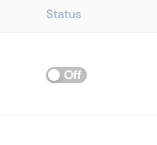
- Once it’s saved it’s not Enabled automatically so you can review all selections.
- If everything is correct please Enable it under Status.