

Upload Audio and Set Time Plan on Fanvil PA2S #
Important: Do not modify any settings outside of those listed in this guide. Doing so may cause the device to stop working.
Step-by-Step Instructions: #
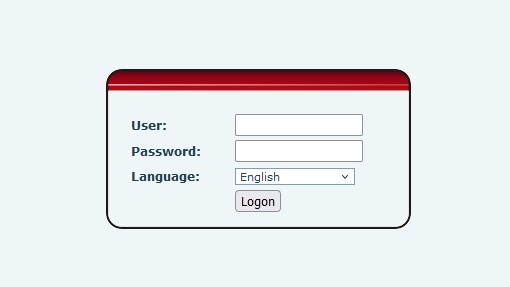
1. Login to the PA2S Web Interface #
- Open a web browser.
- Enter the IP address of the device (e.g.,
http://192.168.x.x). - Login with the credentials provided (default is
admin/adminunless changed).
2. Upload Your Audio File #
- Go to Intercom → File Management.
- Click Upload File.
- Browse and select your
.wavfile (8kHz, mono, PCM recommended). - Wait for the upload to complete and confirm the file appears in the list.
Note: Uploading multiple large files may fill the storage. Remove unused files when necessary.
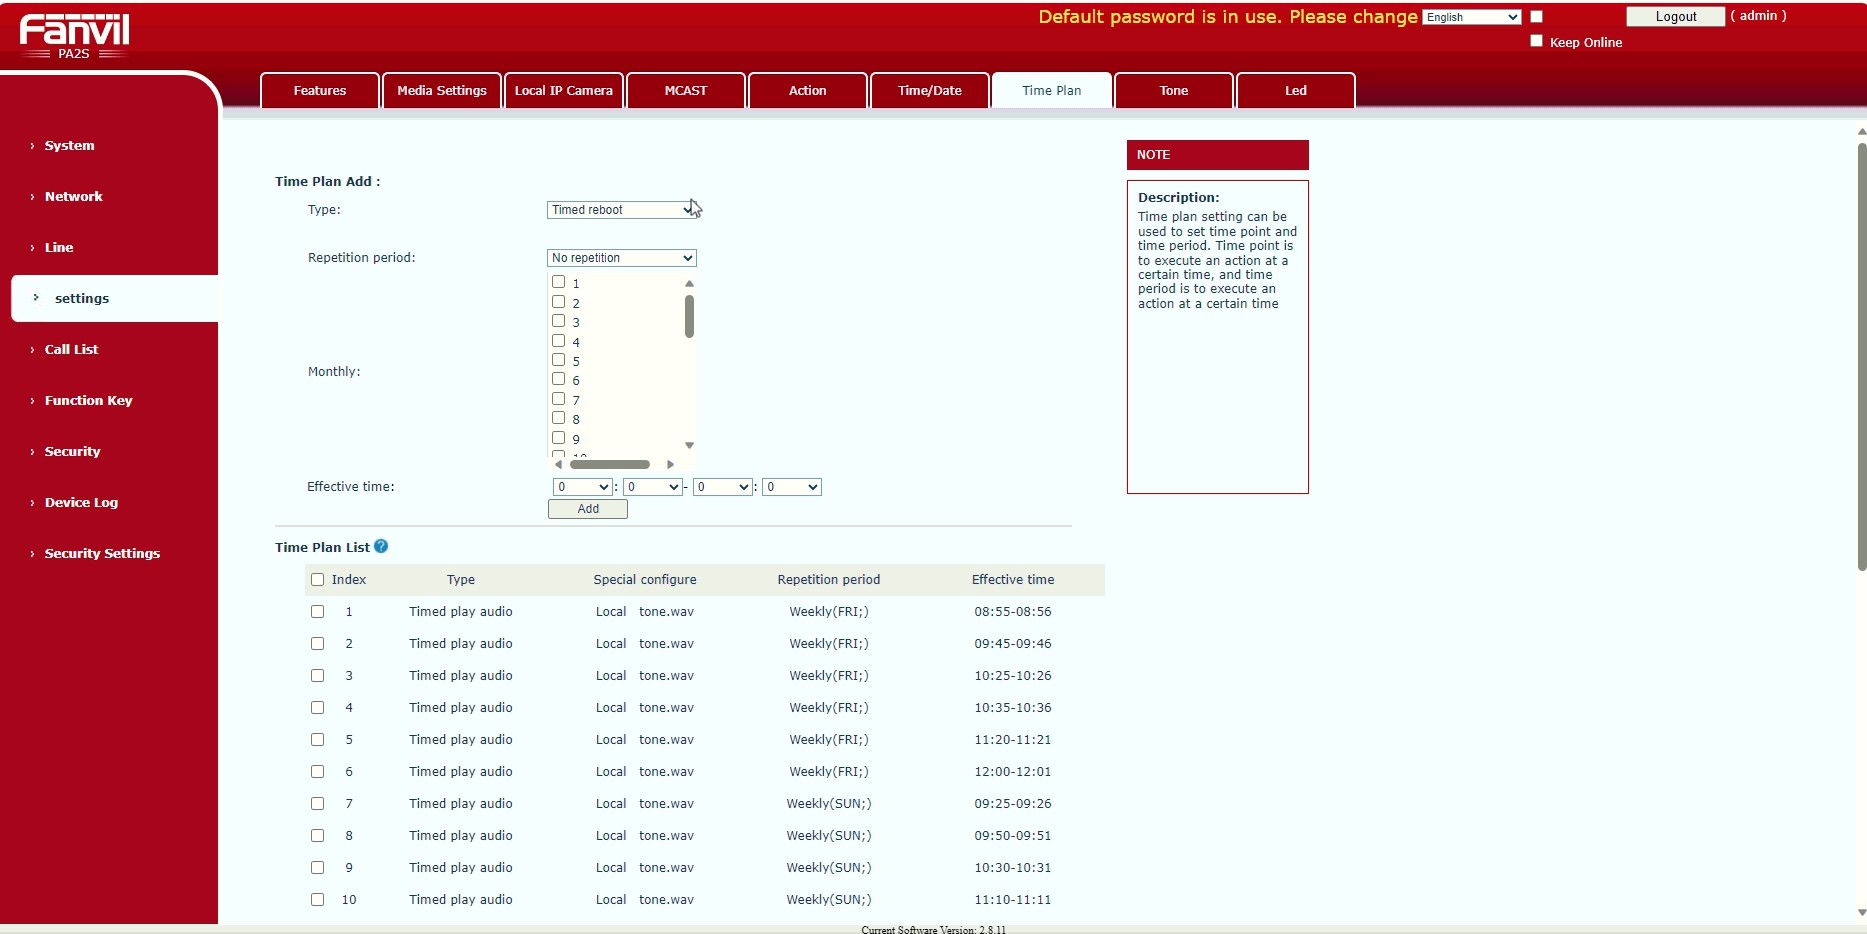
3. Create a Time Plan #
- Go to Intercom → Time Plan.
- Under Time Plan Add:
- Type: Select
Timed play audio. - Repetition period: Select
Weeklyand choose the days (e.g., FRI, SUN). - Special configure: Select your uploaded audio file (e.g.,
tone.wav). - Effective time: Set both start and end times (e.g.,
08:00:00to08:01:00).
- Type: Select
- Click Add to save the time plan.
4. Confirm and Enable Broadcast #
- Ensure the new time plan appears in the Time Plan List below.
- Verify that Timed play audio is listed with the correct file, time, and repetition.
Final Notes: #
- Do not modify network, SIP, relay, or system settings.
- Only follow the steps listed in this guide.
- Incorrect changes may cause the device to stop working.
- Contact support before changing anything else.


