

Purpose:
This guide explains how to manually connect Yealink devices to a wireless network.
Steps to Connect to a Wireless Network #
- Access Wi-Fi Settings
- From the idle screen, select Menu.
- Navigate to Settings → Basic Settings → Wi-Fi.
- Select Available Networks
- Use the navigation keys (▲ or ▼) to highlight Available Network(s) (where X is the number of available networks) and press the Enter soft key.
- If no networks are listed, press the Scan soft key to search for available networks, then select Available Network(s).
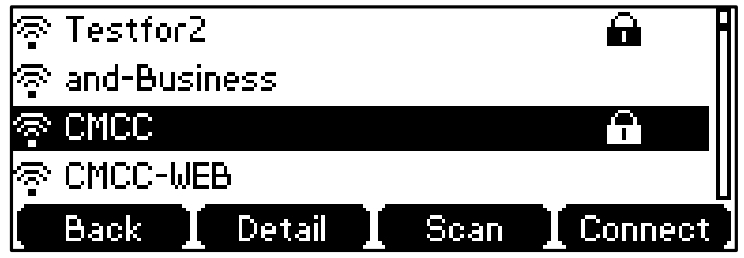
- Choose Your Network
- Use the navigation keys (▲ or ▼) to select the desired wireless network.
- Press the Connect soft key.
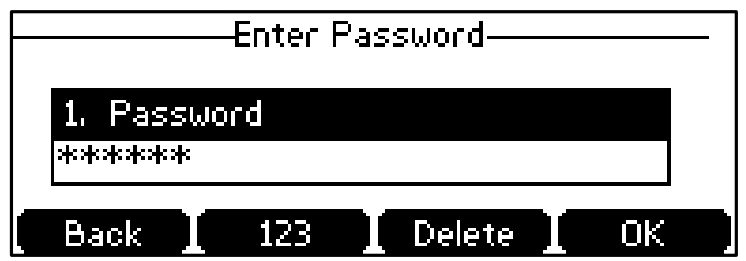
- Enter Network Password(if required)
- If the network is secured, enter its password in the Password field.
- Press the OK soft key to confirm.
- For network password details, contact your system administrator.
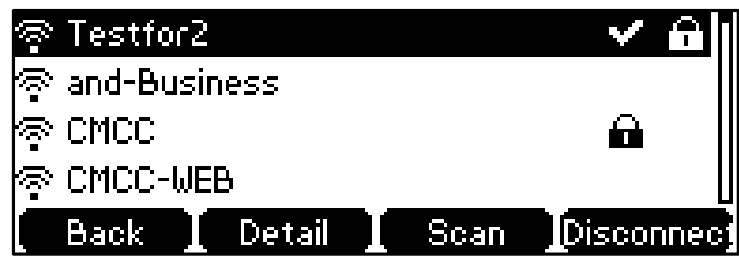
- Confirm Connection
- A checkmark (✓) appears next to the wireless network name if the connection is successful.
- The network name will also appear next to the Wi-Fi Status field in the Wi-Fi menu.
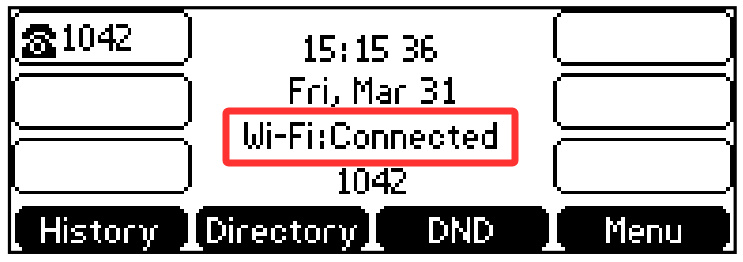
- On the idle screen, the Wi-Fi status displays as Connected.
Notes:
- Ensure the device is within the wireless network’s coverage area.
- If the connection fails, verify the password and try scanning again.


