

This document provides a step-by-step guide to configure BLF keys (Busy Lamp Fields) for devices managed via Phonesystem. This method ensures frequently used extensions or contacts appear on the user’s desk phone and persist even after reprovisioning or factory resets.
🔍 What is BLF? #
BLF (Busy Lamp Field) allows a user to monitor the call status (idle, ringing, busy) of another extension and call them quickly by pressing a corresponding button on the desk phone.
🔹 Step 1: Log into Phone System Admin Portal #
- Navigate to your phone system admin portal.
- Use an admin account with permission to manage devices.
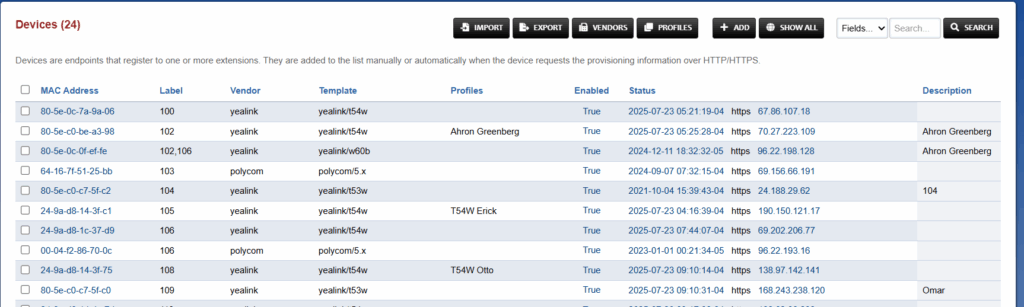
🔹 Step 2: Locate the Device #
- Go to Advanced > Devices.
- Search for the Profiles.
- Click Add.

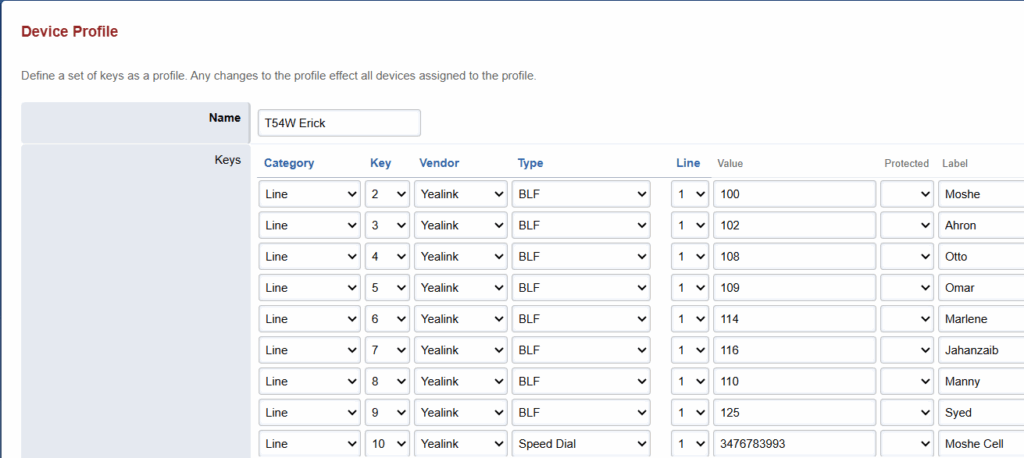
🔹 Step 3: Configure Device Keys (BLF Entries) #
- Scroll down to the Device Keys section.
- Click Add Row or choose an unused key slot to configure.
Fill out the following fields:
| Field | Example Value | Description |
|---|---|---|
| Type | blf | Set the key type to BLF |
| Line | 1 | The SIP account line number |
| Label | Sharifa 101 | Display label shown on the phone |
| Value | 101 | Extension to monitor |
| Context | default | Use your FusionPBX dialplan context |
Repeat for each BLF contact you want to add. Refer to the image below as an Example
🔹 Step 4: Save and Reprovision #
- Click Save at the Top Right.
- Reboot or reprovision the phone.
Once reprovisioned, the BLF keys will appear on the phone as programmable buttons.
✅ Notes #
- BLF entries are stored centrally, so they survive factory resets and provisioning updates.
- Ensure the device supports the number of keys being configured. For Example Polycom Telephones only support 16 BLF Contacts.


